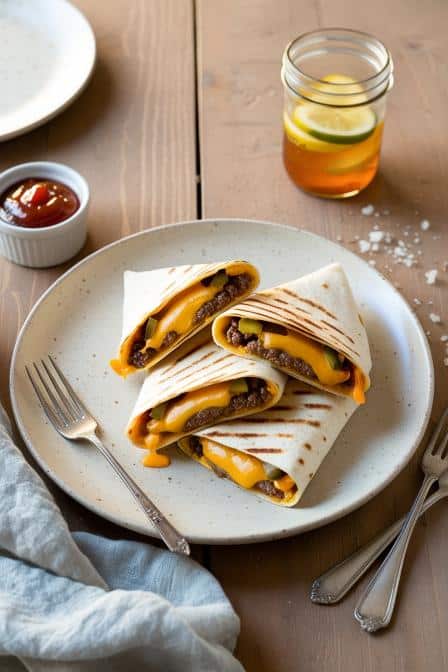
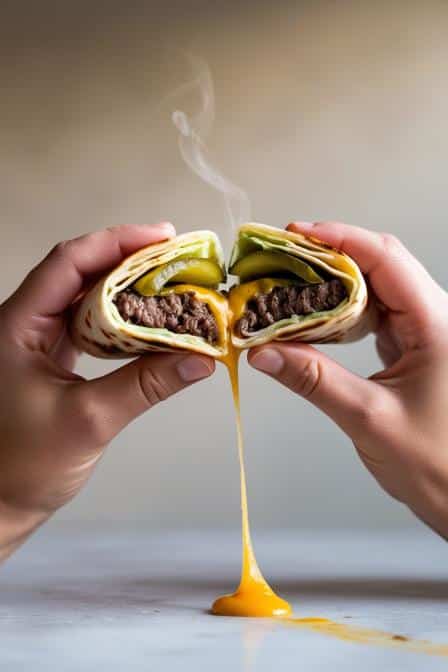
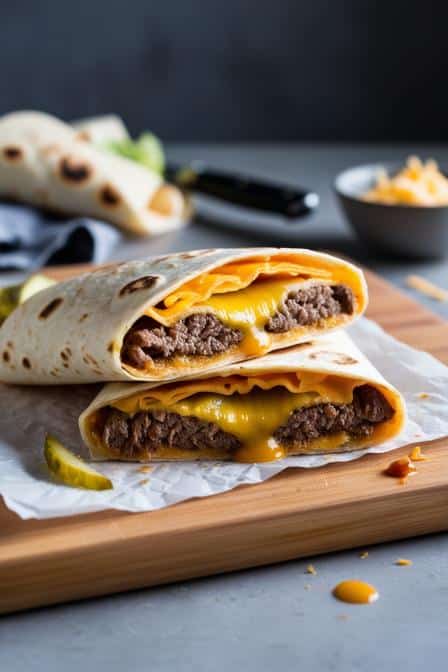
The first time I made a grilled cheeseburger wrap, I wasn’t trying to be clever. I’d just ran outta buns. That was it. But what came outta my cast iron skillet that night had my cousin shouting, “You better write this down!” That wrap was crispy outside, molten inside, beefy, cheesy, with a crunch that made you blink slow and say, “Wait—what was that?”
We’re not talking fast food copycat stuff here. We’re building a hybrid. It’s a cheeseburger… but also a wrap. And it’s grilled. Not microwaved. Not steamed. Properly grilled, with texture, color, and that sizzle you hear in dreams. You get all the burger goodness—melty cheese, seasoned beef, zingy pickles—but in a tidy, toast-crunchy tortilla. That’s the move.
What Are Grilled Cheeseburger Wraps?
At its core, this is cooked ground beef seasoned like a classic burger, folded up with cheese, sauces, and pickles inside a tortilla, and grilled until golden and blistered. The inside stays oozy and hot, while the outside crisps like a dream. You can bite it one-handed. Eat it on the couch. Or serve it as finger food at a party and feel like a legend.
It’s got technique, texture, and flavor harmony. There’s control in the wrap format—you avoid the heartbreak of burger patty slippage or topping avalanches. And with a grilled finish, you layer extra depth—nutty notes from the browning, that slight crackle from the tortilla… it’s the kind of thing that makes you nod in satisfaction before you even swallow.
Ingredients & Substitutions
Cheeseburger wraps might seem casual, but ingredients matter. Each part has a job. Here’s what you’ll need and what you can swap in a pinch:

Ingredient Table
| Ingredient | Quantity | Substitutes / Notes |
|---|---|---|
| Ground beef | 1 lb (450g) | 80/20 is best. Can use turkey, lamb, or plant-based crumbles |
| Salt | 1 tsp | Use kosher or sea salt for better flavor dispersion |
| Black pepper | ½ tsp | Fresh cracked gives a sharper, bolder taste |
| Garlic powder | ½ tsp | Or use fresh minced garlic if cooking beef longer |
| Onion powder | ½ tsp | Optional, but adds burger-shop nostalgia |
| Tortillas (large) | 4-6 | Flour tortillas only. Corn won’t hold up here |
| Cheddar cheese | 1½ cups, shredded | American or provolone melt better; pepper jack adds kick |
| Pickles, chopped | ½ cup | Bread-and-butter for sweet, dill for tangy |
| Mustard | 2 tbsp | Dijon for a sharp hit, yellow for that diner-style bite |
| Ketchup | 2 tbsp | Or burger sauce, sriracha ketchup, BBQ sauce |
| Mayonnaise | 2 tbsp | Optional. Helps bind and mellow acidity |
| Diced onions (optional) | ¼ cup | Raw or lightly sautéed. Adds punch and crunch |
| Oil or butter | 1-2 tbsp | For grilling wraps. Butter adds flavor; oil gives more even browning |
Ingredient Tips
- Beef: Use 80/20 ground chuck. Fat matters here. It gives flavor, moisture, and that classic burger richness. Too lean and your wrap’s dry. Too fatty and it’ll leak out like lava.
- Cheese: Don’t use pre-shredded if you can help it. They coat that stuff with anti-caking agents that block melt. You want ooze.
- Pickles: The acid cuts through the fat. Don’t skip them. Even just a few slices bring your wrap to life.
- Tortillas: Get the big burrito-sized ones. Warm them slightly before wrapping so they don’t tear.
Step-by-Step Instructions

Let’s build this wrap like a proper pro. Here’s how you go from raw to wrap in 25 minutes.
1. Cook the Beef
Heat a skillet over medium-high. Add your ground beef. Break it up as it browns. You’re aiming for small, crisped crumbles, not soggy lumps.
Season with salt, pepper, garlic powder, and onion powder. Stir until well combined and no pink remains. Drain excess fat but leave a little in the pan—flavor gold.
Pro Tip: Don’t overcrowd the pan. If you double the recipe, cook in batches. Steamed beef is sad beef.
2. Build the Wraps
Lay a warm tortilla flat. Smear with ketchup, mustard, and mayo. Sprinkle shredded cheese in the center.
Top with a generous scoop of beef. Then scatter chopped pickles and onions (if using). Add more cheese on top—yes, double-deck it.
Wrap Trick: Fold sides in, then roll tightly like a burrito. Don’t overstuff. That’s how you get cheesy blowouts mid-grill.
3. Grill the Wraps
Heat a nonstick skillet or grill pan over medium heat. Add a little butter or oil.
Place wraps seam-side down. Press gently with a spatula. Cook 2–3 minutes per side or until golden and crisp.
Watch Closely: Too hot and the tortilla burns before the cheese melts. Medium heat gives you that golden finish and gooey inside.
4. Rest and Slice
Let the wraps sit for a minute before slicing. That keeps things tidy and lets the cheese firm slightly.
Cut in half on a bias (chef flex), or serve whole for a hefty hand-held snack.
Variations
- Spicy: Add jalapeños, spicy mayo, or swap in pepper jack cheese.
- Vegan: Use Beyond Meat or lentil-walnut crumble, vegan cheese, and plant-based mayo.
- Gluten-Free: Use gluten-free tortillas, but toast gently—they’re delicate.
- Breakfast Style: Add scrambled eggs, hash browns, or bacon.
Cooking Techniques & Science
Why Grill the Wrap?
Grilling gives that all-important Maillard reaction—the browning that turns plain into perfect. Heat + protein + sugar = flavor explosion. It’s the same science behind steak crust and toasty bread.
A grilled tortilla gives structure, crunch, and warmth. It also holds everything together better than a soft wrap, especially when cheese starts flowing.
The Cheese Melt Window
Cheddar melts best between 130–150°F. Too hot, it separates into oil. Grill gently, and you hit the sweet spot: stretchy, glossy, unified cheese.
Pre-shredded cheese has starch that blocks perfect melt. Shred fresh. Always.
Storage & Reheating
Storage: Cool completely. Wrap tightly in foil or cling film. Refrigerate up to 3 days.
Reheat: Best in a skillet over low heat. Flip often till warmed through. Or pop in a 350°F oven for 10–12 mins. Microwave? Only if you’re desperate—wrap in a damp towel to avoid rubbery results.
Tools That Matter
- Cast Iron Skillet: Gives even, deep browning.
- Grill Press: Optional, but helps crisp faster and flatter.
- Sharp Knife: For clean cuts and fewer “cheese squish” incidents.
Serving & Pairing Suggestions
Grilled cheeseburger wraps are versatile. Here’s how to take ‘em from simple to wow:
- Plating: Slice diagonally, stack halves leaning against each other. Add a pickle spear and a smear of dipping sauce on the side.
- Dips: Burger sauce, chipotle mayo, garlic aioli.
- Sides: Crispy fries, sweet potato wedges, or a fresh coleslaw for crunch contrast.
- Drinks: Classic cola, iced tea, or a hoppy IPA. Or go nostalgic with a root beer float.
These wraps are picnic gold, late-night glory, or game-day MVPs. They travel well. They reheat easy. They impress picky eaters and foodies alike.
Best Time to Serve or Eat This Dish
Honestly? Anytime you’re craving a burger but want less mess. They’re perfect for:
- Lunchboxes – Kids love them. No soggy bread.
- Dinner Parties – Cut into thirds with toothpicks and serve as handheld appetizers.
- Meal Prep – Make 6, wrap in foil, store. Done for the week.
- Late Nights – That moment when chips won’t cut it, but a full meal feels too much.
They hit the comfort-food zone without tipping into food coma territory.
Conclusion
Grilled cheeseburger wraps are what happens when you take a classic, twist the format, and keep all the soul. They’re crispy, melty, savory, sharp, and totally customizable. It’s the kind of dish that works in a diner and a modern kitchen alike.
The real magic? It’s the contrast. The grilled crunch. The soft beefy center. The sharp zing of mustard or pickle cutting through rich cheese. You’re not just eating a burger in a new shape. You’re experiencing it in a new rhythm.
Last tips? Don’t skimp on seasoning. Don’t rush the grill. And don’t forget the pickles.
FAQs
1. Can I freeze grilled cheeseburger wraps?
Yes. Wrap tightly in foil and place in a freezer bag. Reheat in oven from frozen at 375°F for 20–25 mins.
2. What’s the best cheese to use?
Cheddar gives classic burger flavor. American melts smoother. Monterey Jack or provolone are great too. Just avoid dry cheeses like parmesan.
3. My wrap keeps tearing—what do I do?
Warm the tortillas slightly before filling. Microwave for 10–15 seconds or pan-heat. Also, don’t overstuff.
4. Can I make them in an air fryer?
Absolutely. 375°F for 6–8 minutes, flip halfway. Spray lightly with oil for best browning.
5. How do I make it healthier?
Use lean ground turkey, whole wheat tortillas, and Greek yogurt instead of mayo. Still delicious, just lighter.
Let me know if you want printable recipe cards, high-protein tweaks, or regional flavor twists. There’s a lot more fun to cook up with this one.

